
Gaming
Fixing Sleep Issues with Bazzite on a Gigabyte Motherboard
Bazzite had a nasty case of insomnia on my Gigabyte B550M DS3H


Computing / Internet
Whenever I listen to music or podcasts on my phone, I use Pano Scrobbler to notify Last.fm what I'm listening to. Here's a quick share of the HTML I use(d) to display that info on my WordPress site. This widget is adapted from Prashant

Woodworking
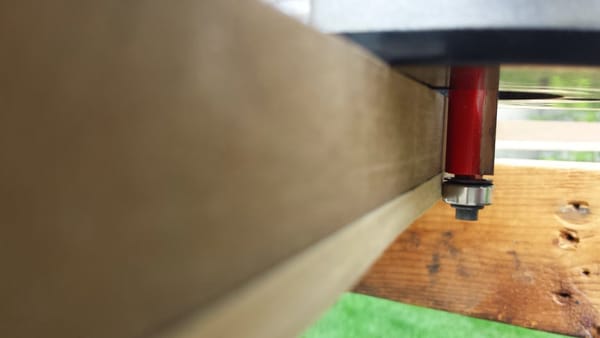
I made another thing. It's a stand to elevate my almost-18-year-old-dog's food bowl. I feed her, honest.. she's just really, really old and a really skinny breed (Italian Greyhound) to start with. I won't go into many details because I'm
Woodworking
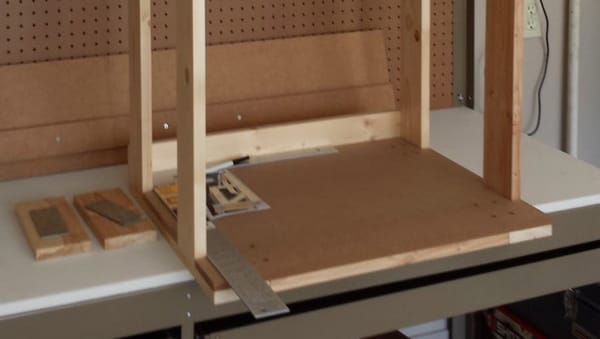
When I made my side table, this little bugger was ridiculously helpful. I won't go into a ton of detail on the build, because there are plenty of great examples on YouTube. Here's one that I used. Of note, my Skil 3410-02 table saw has tabbed
Whenever I listen to music or podcasts on my phone, I use Pano Scrobbler to notify Last.fm what I'm listening to. Here's a quick share of the HTML I use(d) to display that info on my WordPress site. This widget is adapted from Prashant

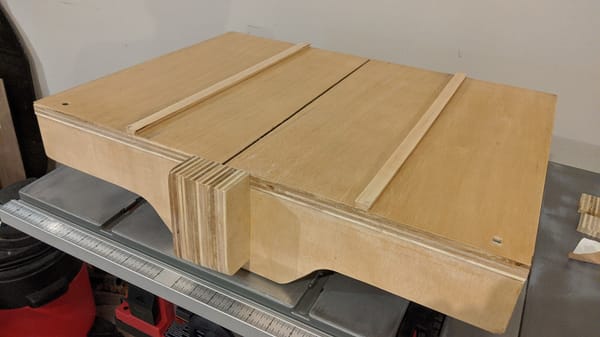
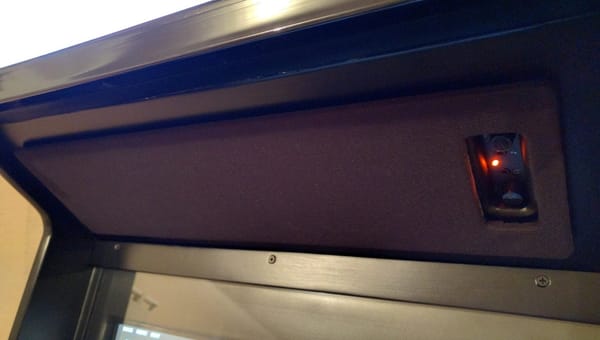
Having recently finished my basement, I've been using my arcade cabinet quite a bit more. In doing so, I've been wanting a place to put drinks & snacks while I play, or to put a mouse & keyboard when I need to fiddle with the software
I'll preface this part with a warning. If I did it again, I don't think I'd do it this way. The first thing I did was stack the frame, control panel, and the sides together, then I glued & screwed them together. Then I
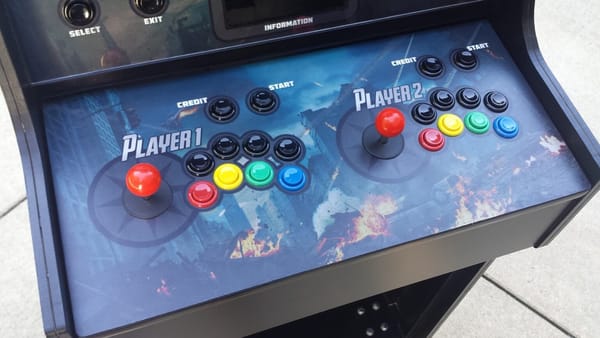
Here, I outline how I assembled the control panel for my arcade cabinet. A fair amount of effort went into the control panel. I tested several mock layouts on paper until I found one that I liked. Slagcoin.com is basically the online bible of arcade button layouts, and I
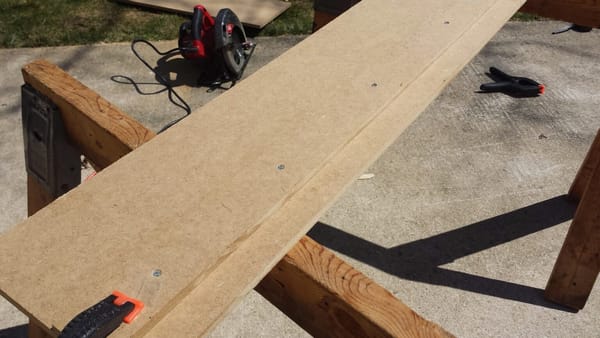
I don't own a table saw, and I'll need to make a lot of long, straight cuts in MDF to build my arcade machine. Rather than drop a few hundred bucks on a table saw, I made a sawboard for less than $20. I started with
Create an account to leave comments.
Having recently finished my basement, I've been using my arcade cabinet quite a bit more. In doing so, I've been wanting a place to put drinks & snacks while I play, or to put a mouse & keyboard when I need to fiddle with the software
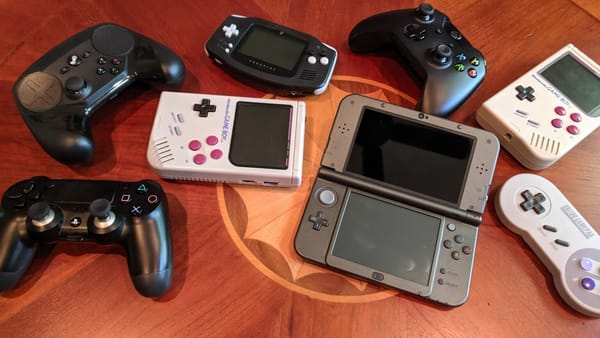
I enjoy putzing around with homebrew / homemade handheld gaming devices. I've built Raspberry Pi Zero systems inside a classic Gameboy shell. I've pieced together a Freeplay Zero in a Gameboy Advance shell. And I've purchased a premade Anbernic RG-350 straight from China. They all

To stay somewhat-not-chubby, I run. When I run, I sweat. When I sweat, I sweat A LOT. And as a result of all this, I apparently straight-up murder Bluetooth earbuds. So, to keep track of my disgusting attempt to find Bluetooth earbuds that can survive my workouts, here's
I'll preface this part with a warning. If I did it again, I don't think I'd do it this way. The first thing I did was stack the frame, control panel, and the sides together, then I glued & screwed them together. Then I
Here, I outline how I assembled the control panel for my arcade cabinet. A fair amount of effort went into the control panel. I tested several mock layouts on paper until I found one that I liked. Slagcoin.com is basically the online bible of arcade button layouts, and I
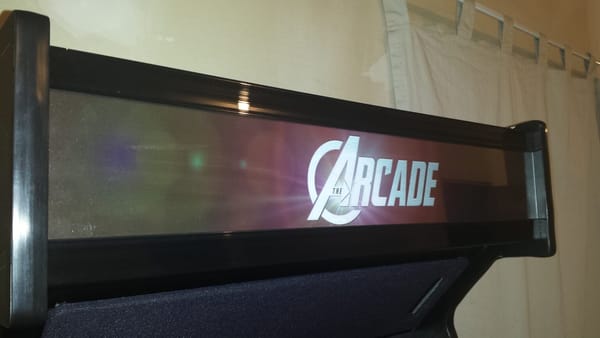
The marquee serves no real functional purpose except to look really freakin' cool. Building this part wasn't exactly rocket surgery (although I had a couple struggles) Basically, I needed a ceiling and a floor for the marquee. These are just strips of MDF held in place by

The screen area is made primarily of 1/2" MDF, with several trim pieces to keep a glass panel in place. I started by taping several pieces of paper to cover the entire screen-area on my monitor. This gave me a template to cut the hole for the monitor
I just realized that I've been seriously negligent on my arcade cabinet updates. I actually finished it a few months ago! Next up: The speaker panel. First off, I created a template on 1/4" MDF to help me rout out the speaker holes. The old butter
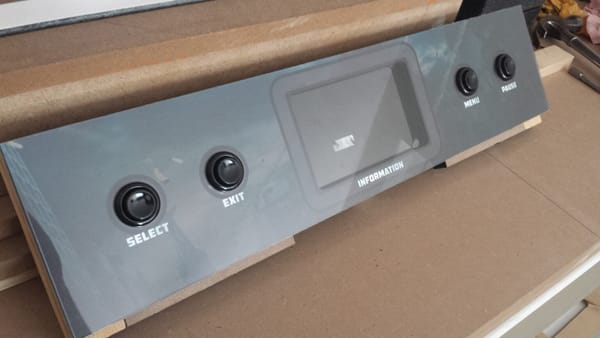
My cabinet has an administration panel below the monitor, which offers basic navigation functions for starting / stopping games. It also has a 7" LCD that displays the controls for the current game. First, I cut a 1/2" MDF sheet to the appropriate dimensions. Then, I clamped a
Here, I detail how I used a paper template to create the two identical side panels for my arcade cabinet. Weekend #1: Using my original SketchUp drawing, I saved a 2D PNG version looking directly at the side panel. I scaled this up in GIMP to the actual dimensions at
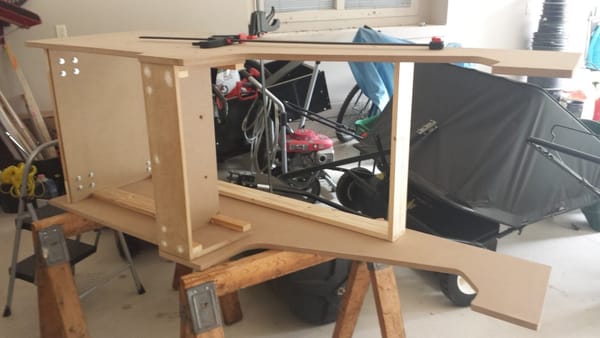
Some would argue that an arcade cabinet doesn't need a frame, or that it makes it too heavy. I disagree. The frame will give additional weight on the bottom, to prevent the machine from being too top-heavy. Also, it'll provide a skeleton that should make it
I don't own a table saw, and I'll need to make a lot of long, straight cuts in MDF to build my arcade machine. Rather than drop a few hundred bucks on a table saw, I made a sawboard for less than $20. I started with