
Gaming
Fixing Sleep Issues with Bazzite on a Gigabyte Motherboard
Bazzite had a nasty case of insomnia on my Gigabyte B550M DS3H

Gaming
Bazzite had a nasty case of insomnia on my Gigabyte B550M DS3H
Gaming
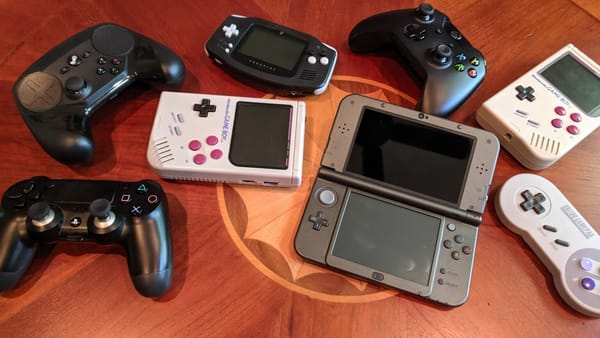
I enjoy putzing around with homebrew / homemade handheld gaming devices. I've built Raspberry Pi Zero systems inside a classic Gameboy shell. I've pieced together a Freeplay Zero in a Gameboy Advance shell. And I've purchased a premade Anbernic RG-350 straight from China. They all
Arcade Cabinet
I'll preface this part with a warning. If I did it again, I don't think I'd do it this way. The first thing I did was stack the frame, control panel, and the sides together, then I glued & screwed them together. Then I
Arcade Cabinet
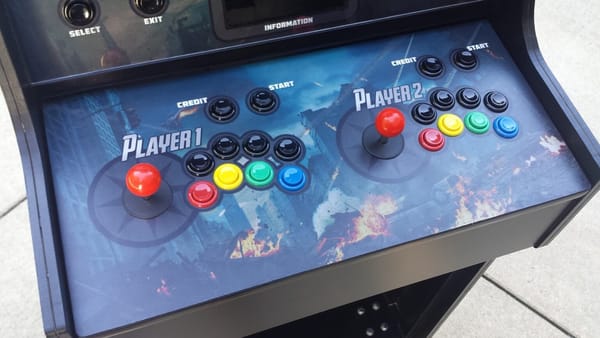
Here, I outline how I assembled the control panel for my arcade cabinet. A fair amount of effort went into the control panel. I tested several mock layouts on paper until I found one that I liked. Slagcoin.com is basically the online bible of arcade button layouts, and I
Arcade Cabinet
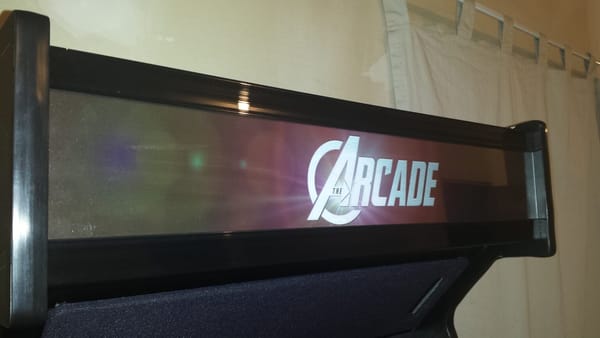
The marquee serves no real functional purpose except to look really freakin' cool. Building this part wasn't exactly rocket surgery (although I had a couple struggles) Basically, I needed a ceiling and a floor for the marquee. These are just strips of MDF held in place by

Arcade Cabinet
The screen area is made primarily of 1/2" MDF, with several trim pieces to keep a glass panel in place. I started by taping several pieces of paper to cover the entire screen-area on my monitor. This gave me a template to cut the hole for the monitor
Arcade Cabinet
I just realized that I've been seriously negligent on my arcade cabinet updates. I actually finished it a few months ago! Next up: The speaker panel. First off, I created a template on 1/4" MDF to help me rout out the speaker holes. The old butter
Arcade Cabinet
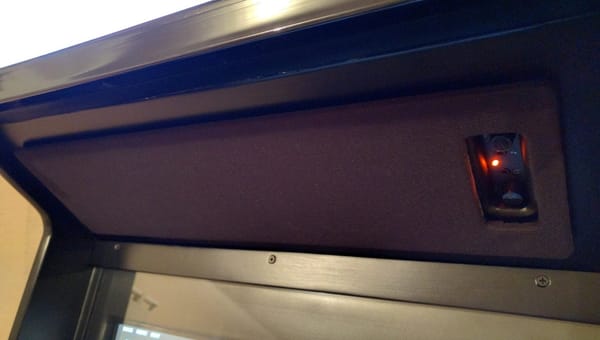
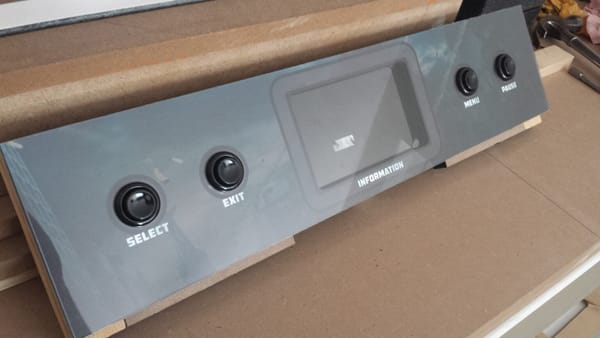
My cabinet has an administration panel below the monitor, which offers basic navigation functions for starting / stopping games. It also has a 7" LCD that displays the controls for the current game. First, I cut a 1/2" MDF sheet to the appropriate dimensions. Then, I clamped a
Arcade Cabinet
Here, I detail how I used a paper template to create the two identical side panels for my arcade cabinet. Weekend #1: Using my original SketchUp drawing, I saved a 2D PNG version looking directly at the side panel. I scaled this up in GIMP to the actual dimensions at
Arcade Cabinet
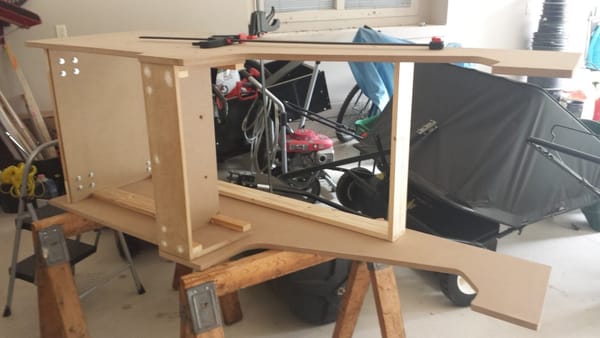
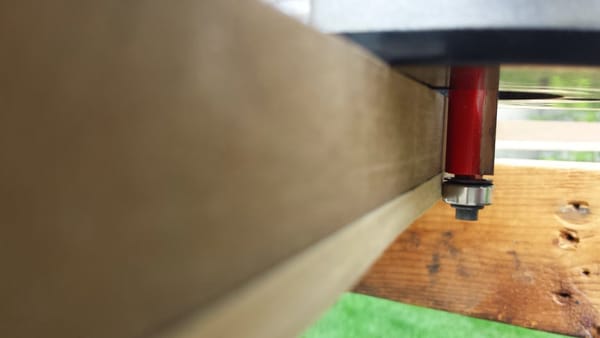
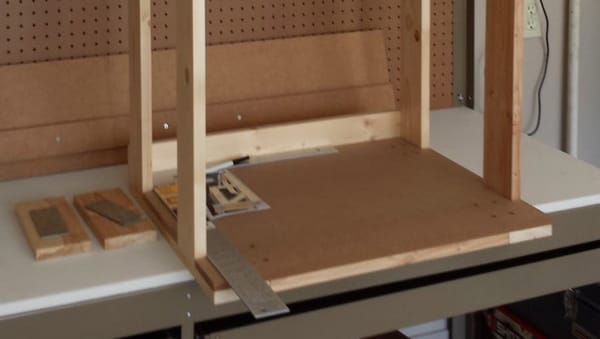
Some would argue that an arcade cabinet doesn't need a frame, or that it makes it too heavy. I disagree. The frame will give additional weight on the bottom, to prevent the machine from being too top-heavy. Also, it'll provide a skeleton that should make it
Arcade Cabinet
Here's what my arcade cab will eventually look like, once I get a chance to start working on it. I like it.
Arcade Cabinet
Not much progress yet. I did manage to use PhotoShop to make the sideart for my cab. I had some empty space to spare, so I made a brushed metal-like surface for where the keyboard & mouse will sit when that panel is installed.